Adding and Editing Capex/Opex
You would like to add a capex/opex, let's see how
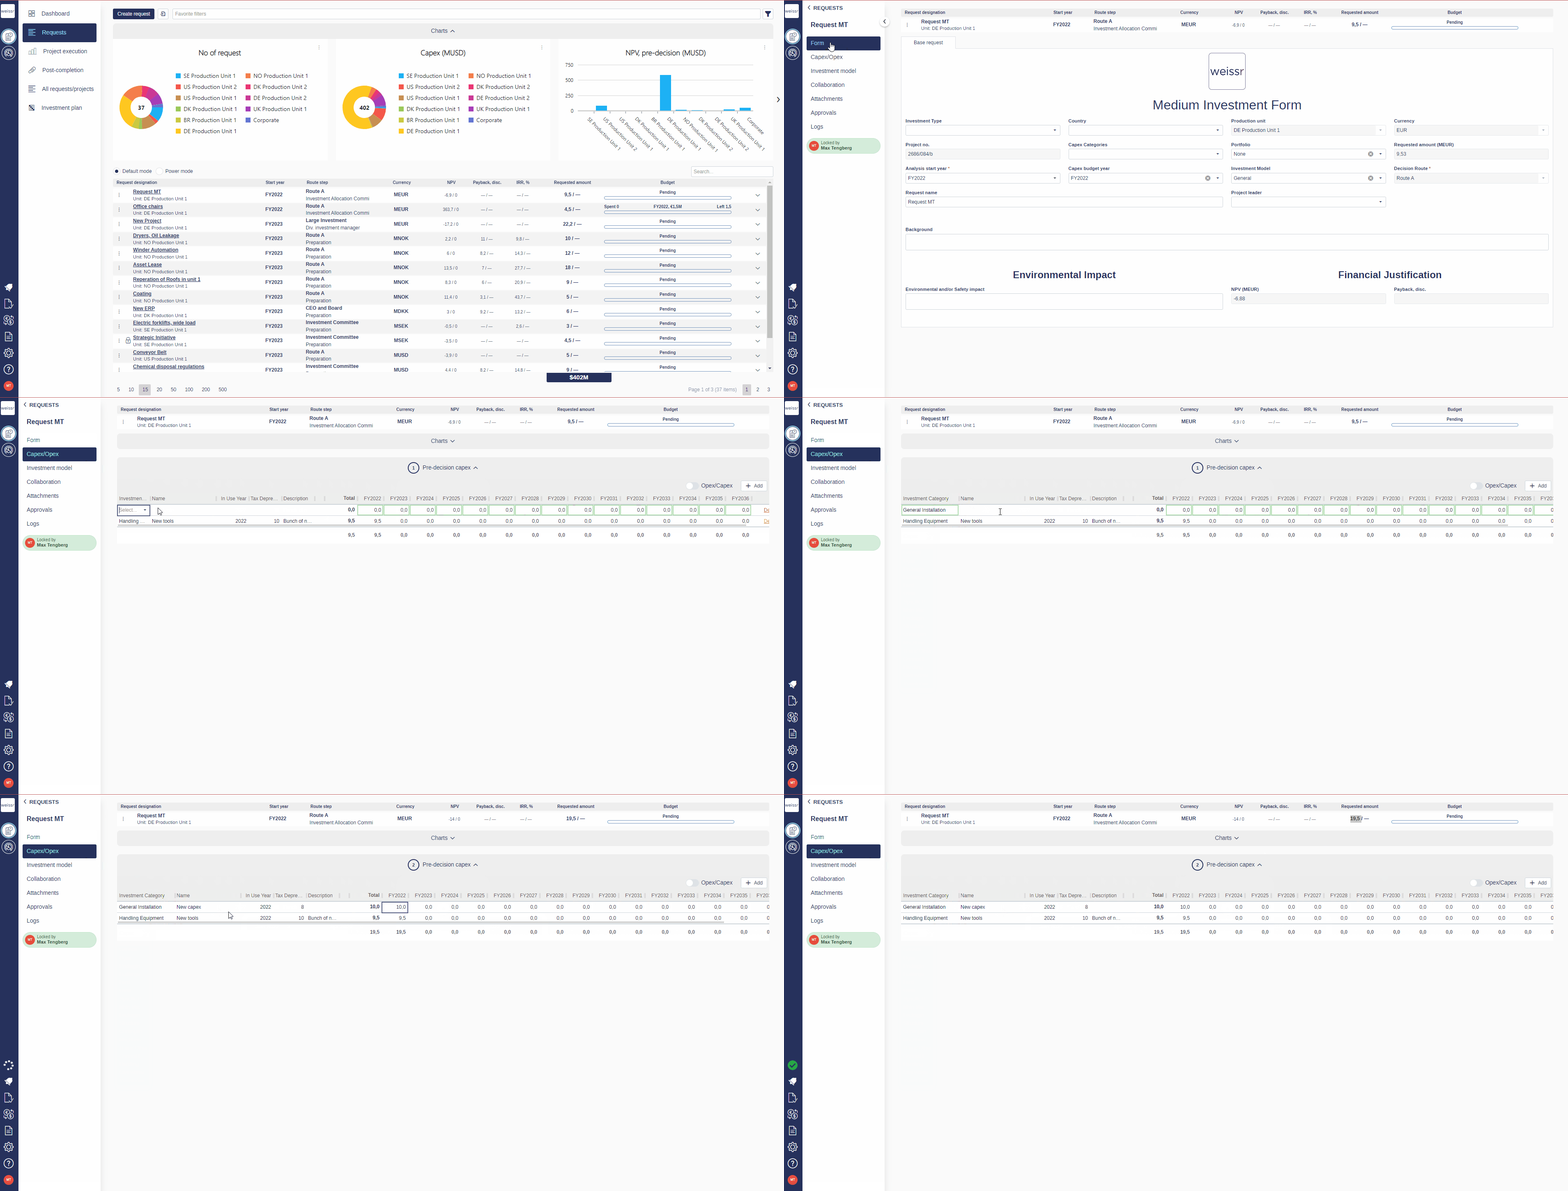
Locate the Request
In any request lists, find and open the specific request you are working on.
Access the Capex/Opex Tab
Inside the request, select the Capex/Opex tab.
Note that the tab name depends on your organization’s terminology
Add an Outlay
Click the Add button located to the right of the outlay row.
Fill in the required information for the outlay.
Determining Capex vs. Opex
An outlay is classified as a Capital Expenditure (Capex) if the selected tax depreciation years exceed 1.
An outlay is classified as an Operational Expense (Opex) if the selected tax depreciation years equal 1.
Selecting the correct tax depreciation years is crucial for accurate reflection in the cash flow calculation.
Note that the available fields in the grid depend on your organization’s setup. Some organizations don’t use tax depreciation and hide it from the end users.
Editing Outlays During Project Phases
Project Execution Phase:
The original Pre-Decision outlay grid becomes uneditable.
A Post-Decision grid will appear, which duplicates the original grid. Use this grid to add, remove, or edit outlays for the request.
Post-Completion Review Phase:
Both the Pre- and Post-Decision outlay grids become uneditable.
