Managing Notifications
Notifications are essential for keeping your team informed about key actions and updates in your projects. This guide explains how to manage recipients for specific notification types, enable or disable notifications, and edit notification content for better customization.
Enabling or Disabling Notifications
To manage your notifications:
Navigate to: Admin → Notifications → Notification Types.
Enable a Notification: Click the toggle next to the notification type. It will turn pink with a checkbox, indicating that the notification is enabled.
Disable a Notification: Click the toggle again to disable it. The toggle will turn gray, indicating that the notification is disabled.
This allows you to easily control which notifications are active within your organization.
Editing Notification Content
You can customize notification content to suit your organization's needs. Follow these steps to edit a notification:
Click the pen icon next to the notification type you wish to modify.
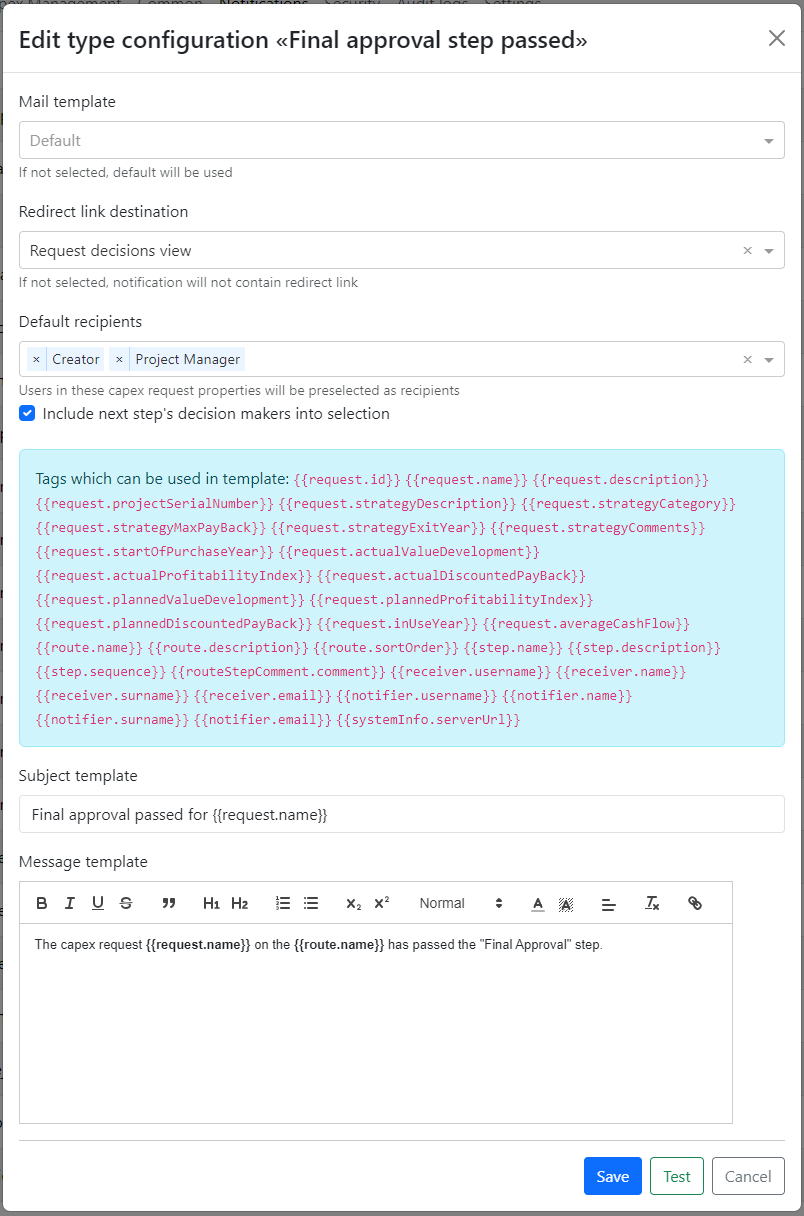
Customize the following fields to tailor the notification:
Mail Template: Choose a template for the notification. If no template is selected, the default template will be used. For detailed guidance on creating and managing templates, visit the Mail template page.
Redirect Link Destination: Adds a link to the relevant tab within the request/project, applicable to certain notification types.
Default Recipients: Specify default recipients using user-type properties. Users assigned to these properties within a request will receive the notification.
Tags: Enhance the subject or body by adding request property data using specific tags.
Subject Template: Personalize the subject of the notification.
Message Template: Craft the body of the notification.
Note: Available fields and tags vary depending on the notification type.
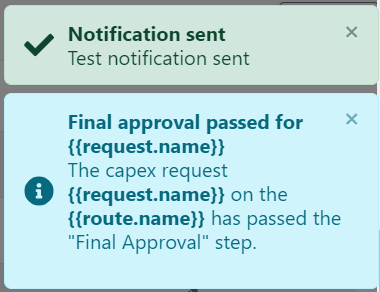
Preview the Message: Click the "Test" button to preview the in-app notification. Keep in mind that tags will not be replaced with actual values in the preview, but you can still review the message content.
Save Your Changes: Once you're satisfied with your adjustments, click the "Save" button to apply them.
Configure sender email for notifications
Overview
Weissr allows administrators to define a constant sender email address for all system notifications.
This helps ensure that notifications are delivered reliably and are not marked as spam.
Why this is important
Some email systems block or move messages to junk when the sender address changes dynamically (for example, when user names are included in the sender field).
Using a constant sender email allows your IT team to:
Create allowlist (spam exception) rules
Ensure consistent delivery of notifications
Improve email reliability across the organization
How sender email works
Notifications can be configured to use:
A constant email address (recommended)
Optional sender name (personal information)
Configuration is managed on system level.
Sender configuration behavior
Depending on system settings:
If personal information is disabled
Only the constant email is used as sender
If personal information is enabled
A sender name is included together with the email
If no custom sender name is defined, the system may use a default name.
Example
A typical configuration may use:
Sender email:
notifications@weissr-cloud.comSender name:
Weissr Notifications
Changing the sender email may require coordination with your IT department to update spam filters or allow lists.
This configuration is typically handled during implementation or system setup.
Configuring Recipients for Specific Notification Types
In Weissr Capex Management, certain notification types allow you to configure recipient lists, ensuring that only relevant users are notified. This flexibility streamlines communication and reduces unnecessary notifications. The following notification types support configurable recipient lists:
Route Step Changed
Final Approval Step Passed
Reapproval Triggered
Request Rejected
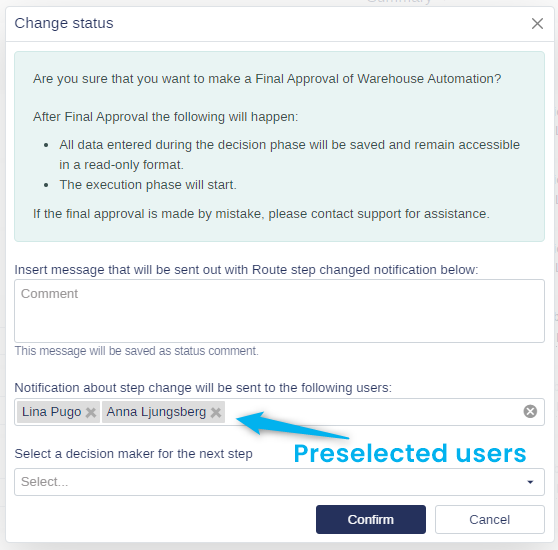
Preselected Default Recipients
Possible Decision Makers of the Next Step:
These users are automatically included but can be added or removed based on your notification requirements.Users in User-Type Properties:
Recipients are preselected if they are associated with user-type properties (e.g., Owner, Project Leader, or custom user properties) specified in the notification configuration as default recipients. Only users linked to the project where the notification is triggered will be notified.

Customizing Recipients with the Confirmation Popup
When an action triggers one of these notifications, a confirmation popup appears in the application, giving the initiating user complete control over who receives the notification. In this popup, you can review, add, or remove recipients to ensure that only the appropriate individuals are notified.
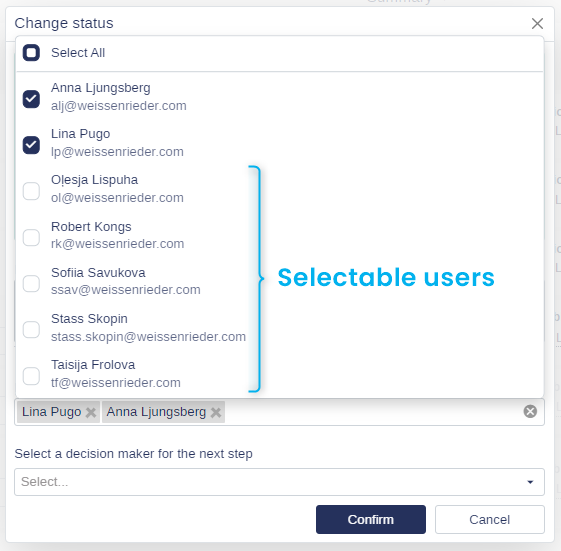
Available Recipients:
Users with at least Project (CM) permission for the production unit associated with the project.
Users linked to user properties defined as default recipients in the notification configuration (e.g., Owner, Project Leader, or other designated user properties).
This setup allows users to tailor notifications based on project-specific permissions and roles, streamlining communication to reach only relevant stakeholders.