Cash Flow Model layouts
Cash flow model layouts are a powerful feature designed to streamline your analysis by acting as a filter on the rows within the cash flow model. They enable you to focus on specific parts of the model, allowing for a more targeted and efficient review of the data. Instead of navigating through an entire dataset, layouts provide a customized view that highlights only the most relevant information, ensuring you can quickly access the details that matter most to your strategic initiatives.
By applying layouts, you can tailor the cash flow model to suit different needs, such as evaluating operating cash flows, analyzing investment costs, or reviewing financing details. This flexibility makes it easier to identify key trends, validate assumptions, and refine your strategy with precision. Whether you’re assessing a particular project, analyzing cumulative impacts, or conducting a sensitivity analysis, layouts simplify complex models and save valuable time.
Key benefits of cash flow model layouts
Custom Views
Create filtered views to display specific data, such as revenue streams, cost breakdowns, or cash flow variances, ensuring you stay focused on your immediate priorities.Enhanced Clarity
Reduce information overload by isolating the rows that align with your current analysis, making complex data more digestible.Improved Efficiency
Spend less time searching for relevant information and more time making strategic decisions based on clear insights.Flexible Filters
Easily switch between layouts to address different aspects of the cash flow model, from high-level summaries to granular details.
Creating a layout
Layouts are tied to your model structure and can be created at the group/division/middle, site, or sub-industry level. They can be applied across all alternative types within the model.
How to create a layout
Navigate to the correct model block
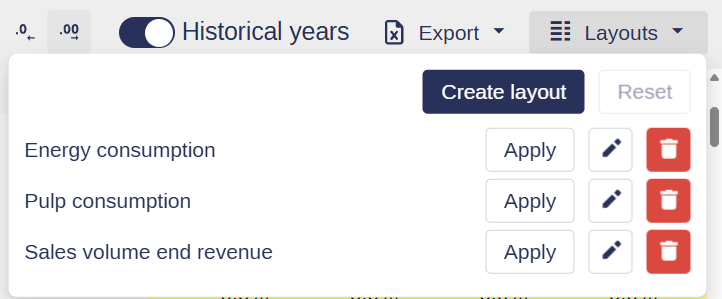
Go to the Cash Flow model and select the model block where you want the layout applied.Open the layout editor
Click Layouts in the upper right corner, then select Create layout.Configure your layout
Name your layout
Select the rows to include:
Click checkboxes to select rows individually
Use Shift + click to quickly select a range of rows
Use the search bar to find rows by name
Toggle "Only selected" to preview your selected rows
Save your layout
Once you're happy with the selection, click Save.
Service blocks will always be added to the bottom in the layout creation settings.